
-
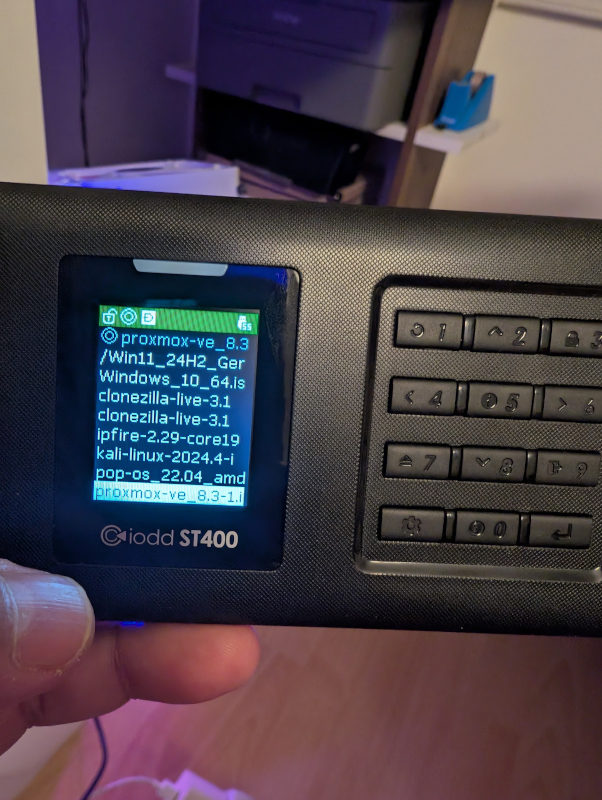
USB-Laufwerk vorbereiten
Bootfähiges ISO auf ein USB-Laufwerk schreiben, um den Proxmox VE Installer zu starten.
-
Boot Screen
Vom USB-Stick booten – der Proxmox VE Splash Screen erscheint.

-
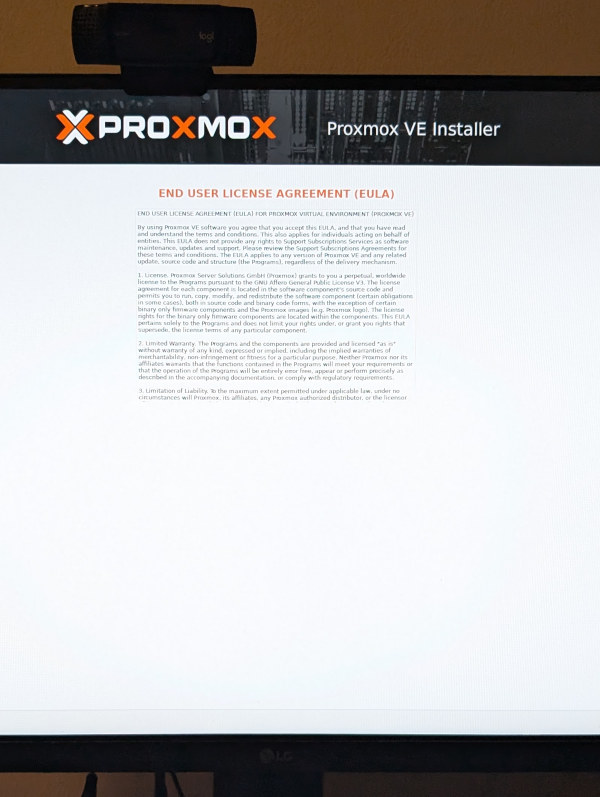
Lizenzvereinbarung (EULA)
Endnutzer-Lizenzvertrag lesen und akzeptieren.
-
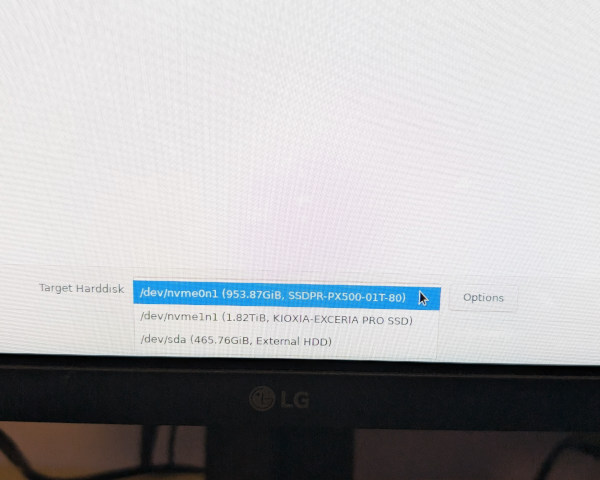
Zieldatenträger auswählen
Die NVMe-SSD als Installationsmedium auswählen.
-
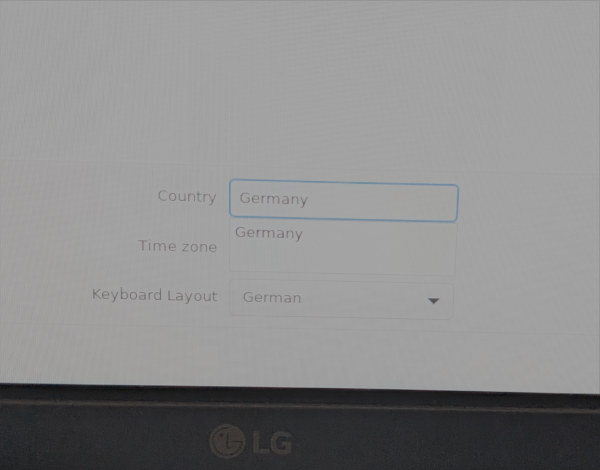
Standorteinstellungen
Zeitzone und Tastaturlayout konfigurieren.
-
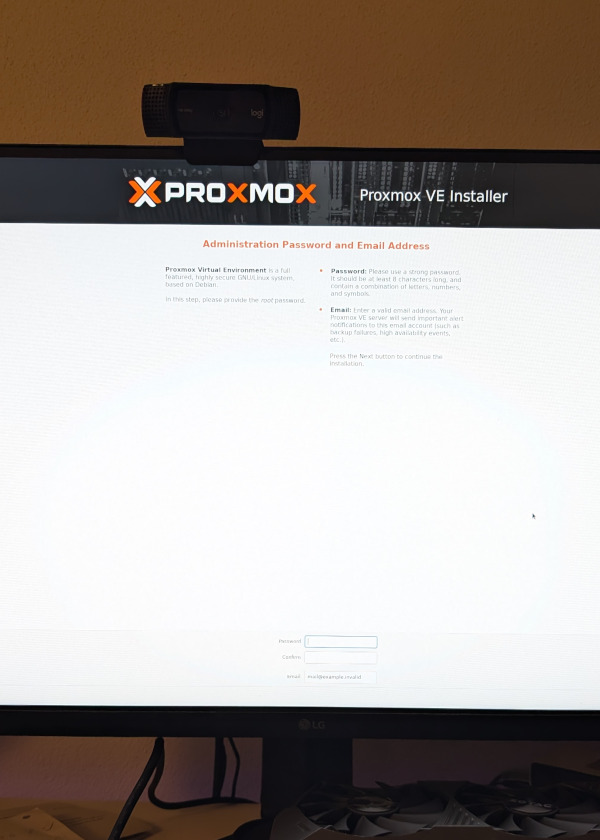
Administrator-Passwort
Root-Passwort und E-Mail-Adresse für Systembenachrichtigungen festlegen.
-
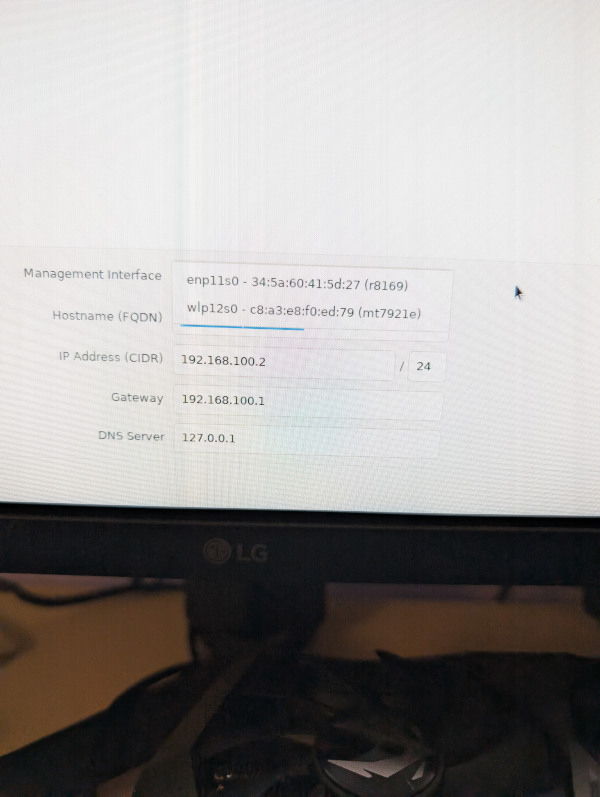
Netzwerkkonfiguration
Netzwerkschnittstelle und Hostnamen festlegen.
-
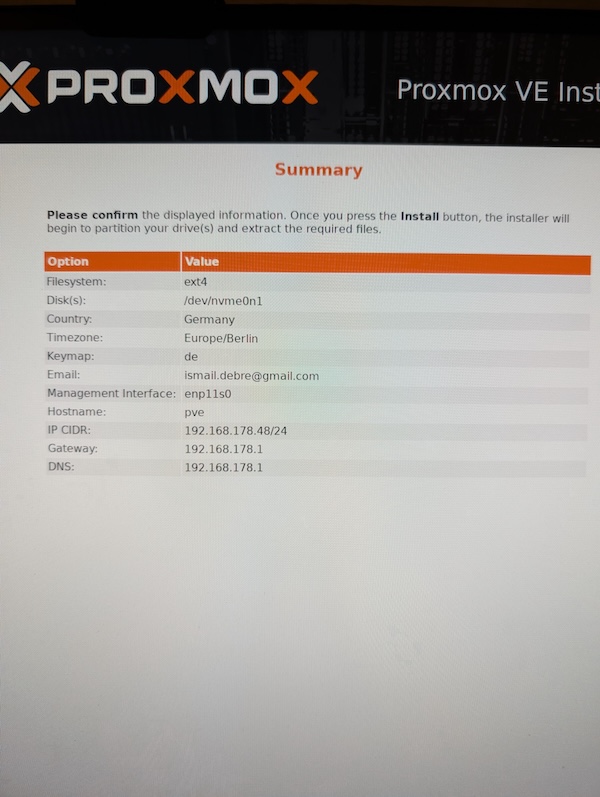
Installationszusammenfassung
Konfiguration vor dem Start prüfen.
-
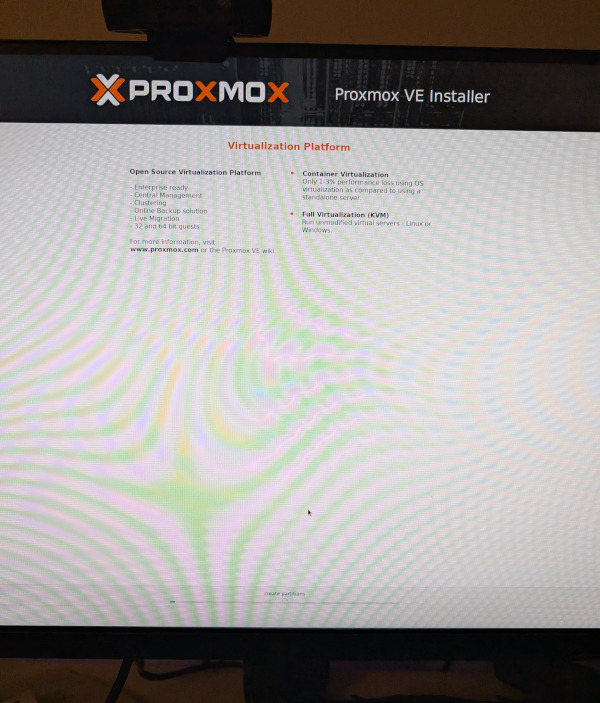
Installationsfortschritt
Proxmox VE wird auf das System geschrieben – Fortschrittsbalken abwarten.
-
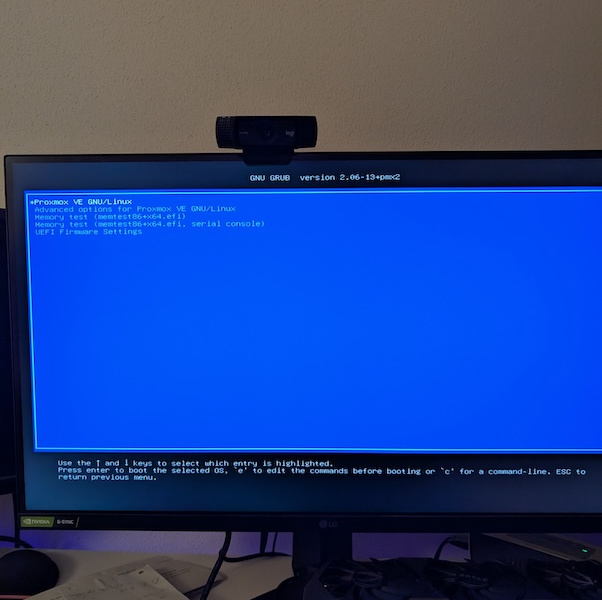
GRUB Bootloader
Das System startet neu und zeigt den GRUB-Bootloader.
-
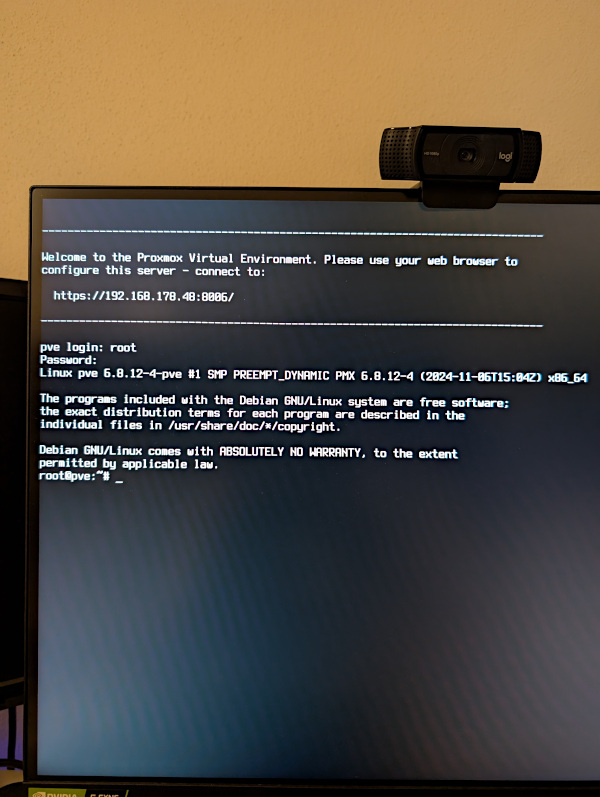
Konsolen-Login
Proxmox VE Konsole ist nun erreichbar – Login als root möglich.
-
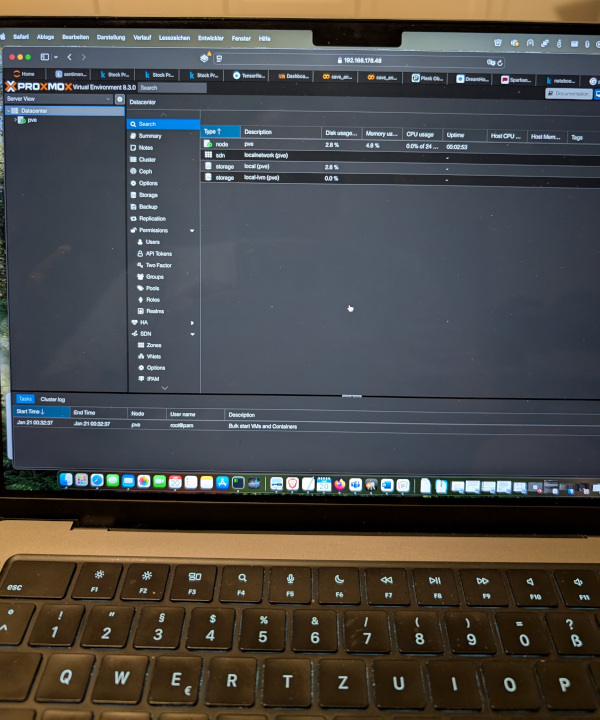
Web-Interface Login
Proxmox VE Weboberfläche im Browser unter Port 8006 aufrufen.
Post-Installations-Hinweis
Diese Installation entstand im Rahmen der Vorlesung „Security Aspects in Application Areas". Weitere Tutorials zu PiHole, Wazuh und IPFire innerhalb von Proxmox folgen in Kürze.